September 5, 2020
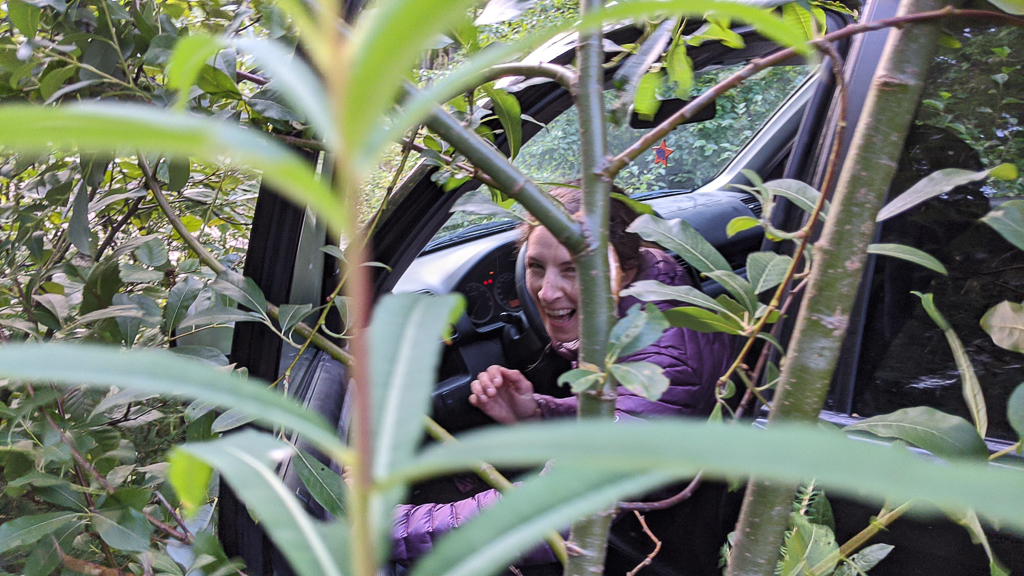
For some weird reason, Susie decided to drive four hours away from Squamish with me to climb an obscure six and a half pitch route out in the Fraser Canyon with me to start off the long weekend of adventures. This route has been on my mind for a while, and I was more recently inspired to check it out again when after reading Nick Elson’s trip report from August 2019. Nick and Julian climbed it in a massive day from Squamish, half of which was spent driving. Susie and I hike and climb slow enough that our total driving time wasn’t equal/less than the time spent on our feet.
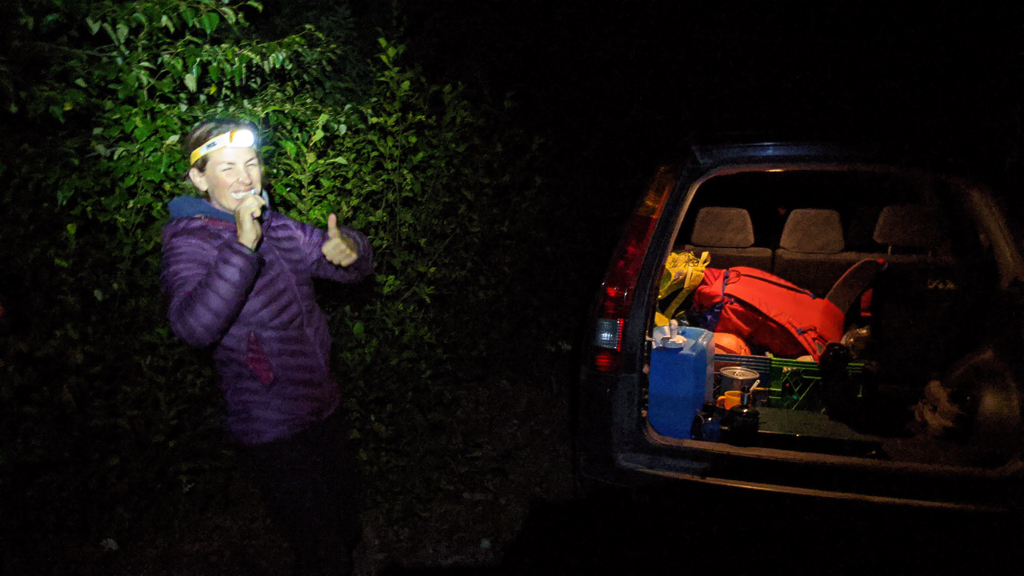
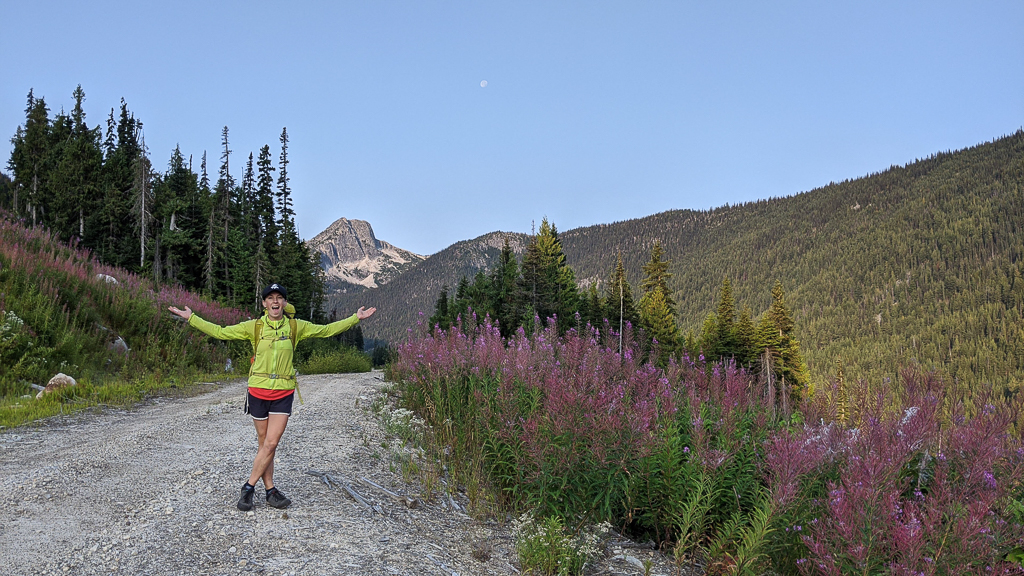
We car camped on the road on Friday night to be first in line for the route. But actually, this was a good idea to get the driving out of the way, and to get an early start for the forecasted high temperatures. To get here, drive north from Hope to Boston Bar, along the Nahatlatch FSR, then up the Kookopi FSR, and then the West Kookopi FSR. The Kookopi FSR was in good condition, and waterbars started on the West Kookopi FSR. We drove a few kilometres up the road before stopping at some waterbars on a hill, but a 4wd-HC vehicle could get to the end.

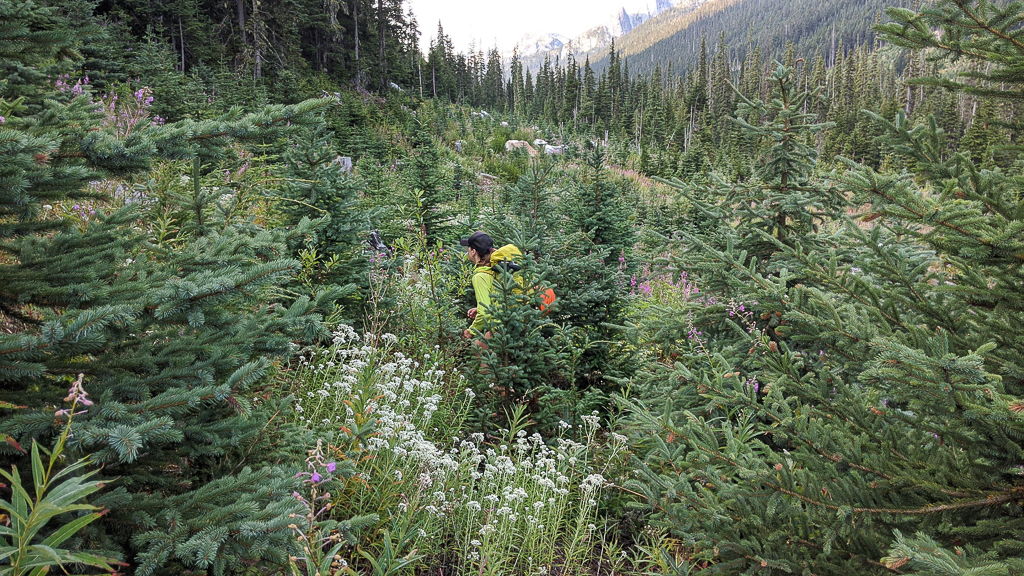
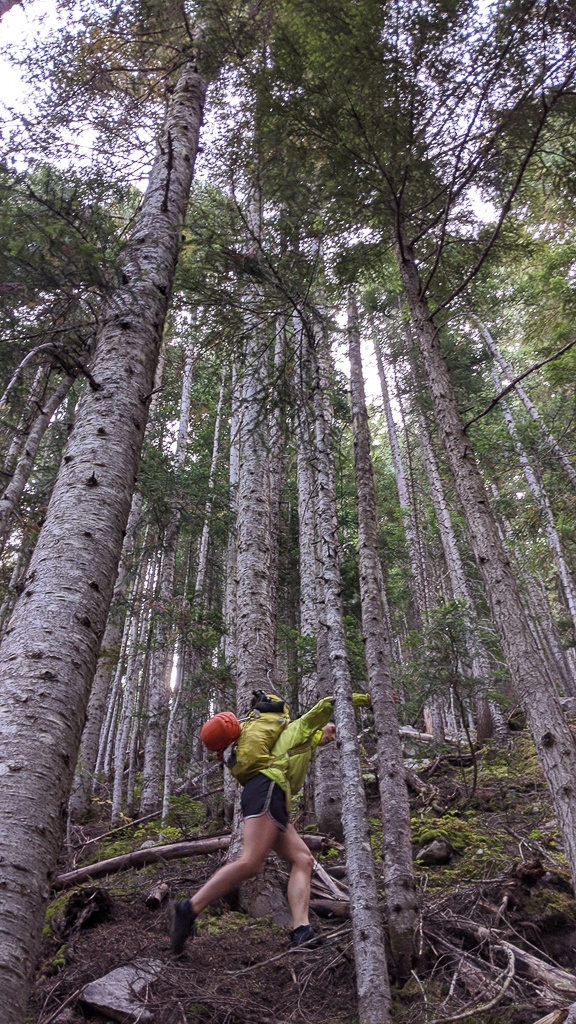
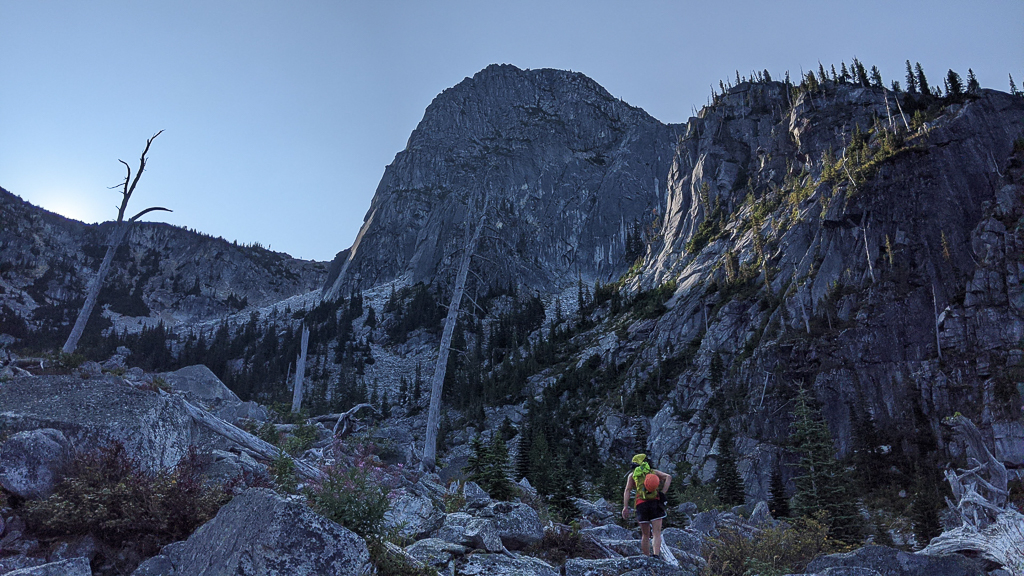
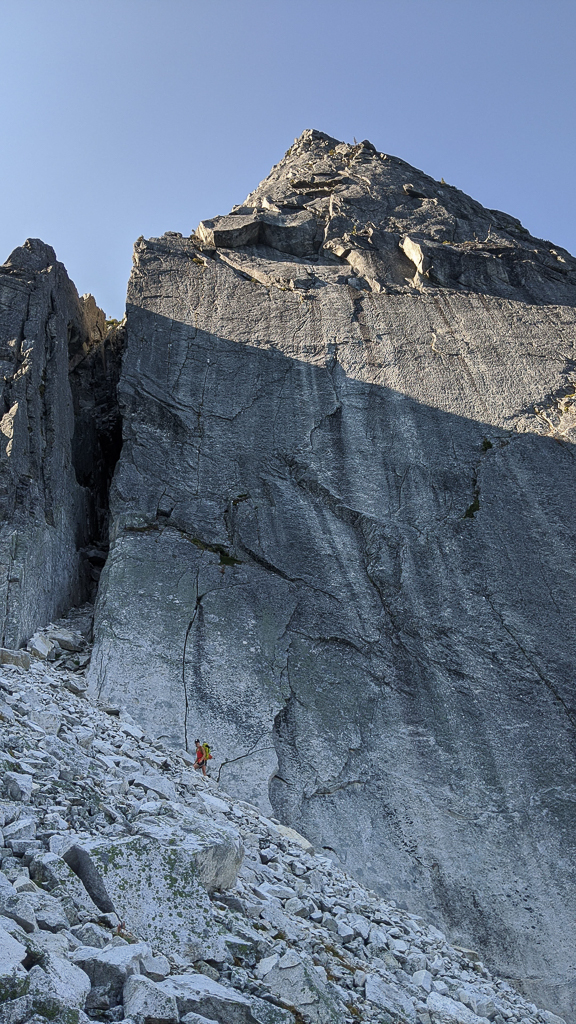
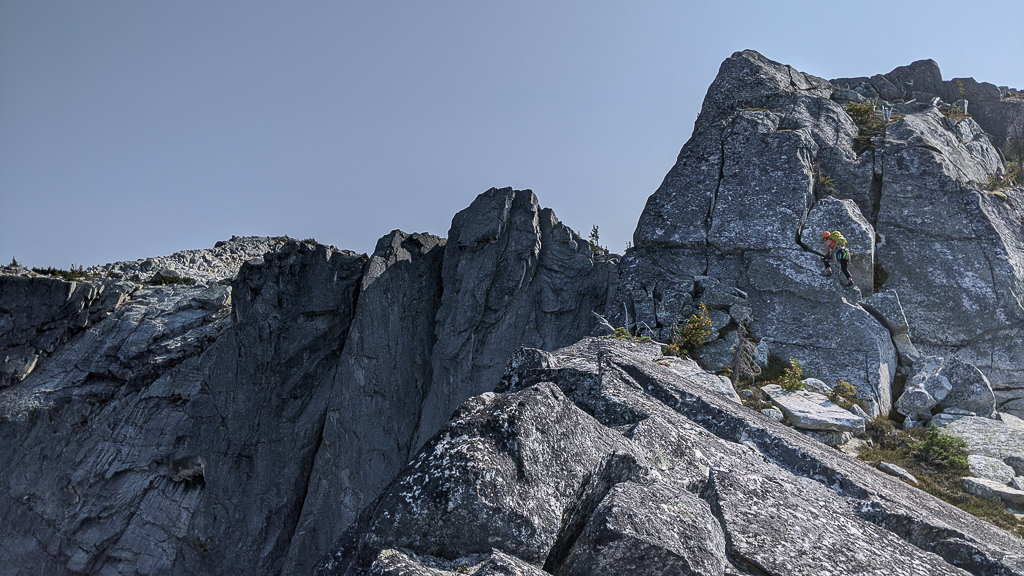
While the approach was longer than the Apron or the Smoke Bluffs to get to the base of the Back of the Beyond Buttress, the splitter thin hands crack on the initial “endurance slab” was fun to check out, and the climbing above, while easier, was good too!
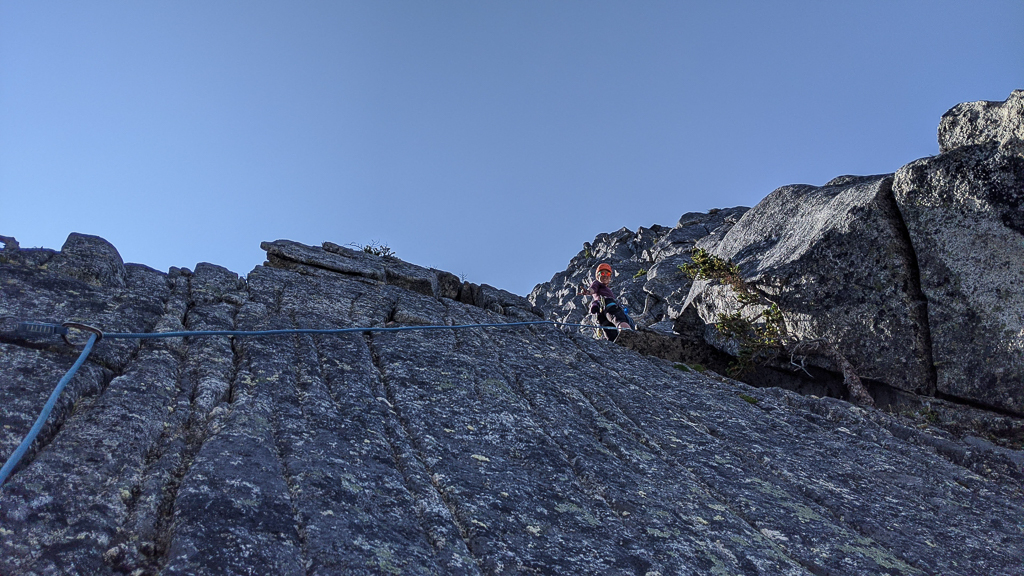
Pitch 2 is definitely the crux pitch. It’s like the changing crack pitch on St Vitus dance, but going left inside of right, and harder, with reachy and unlikely moves on solid edges.
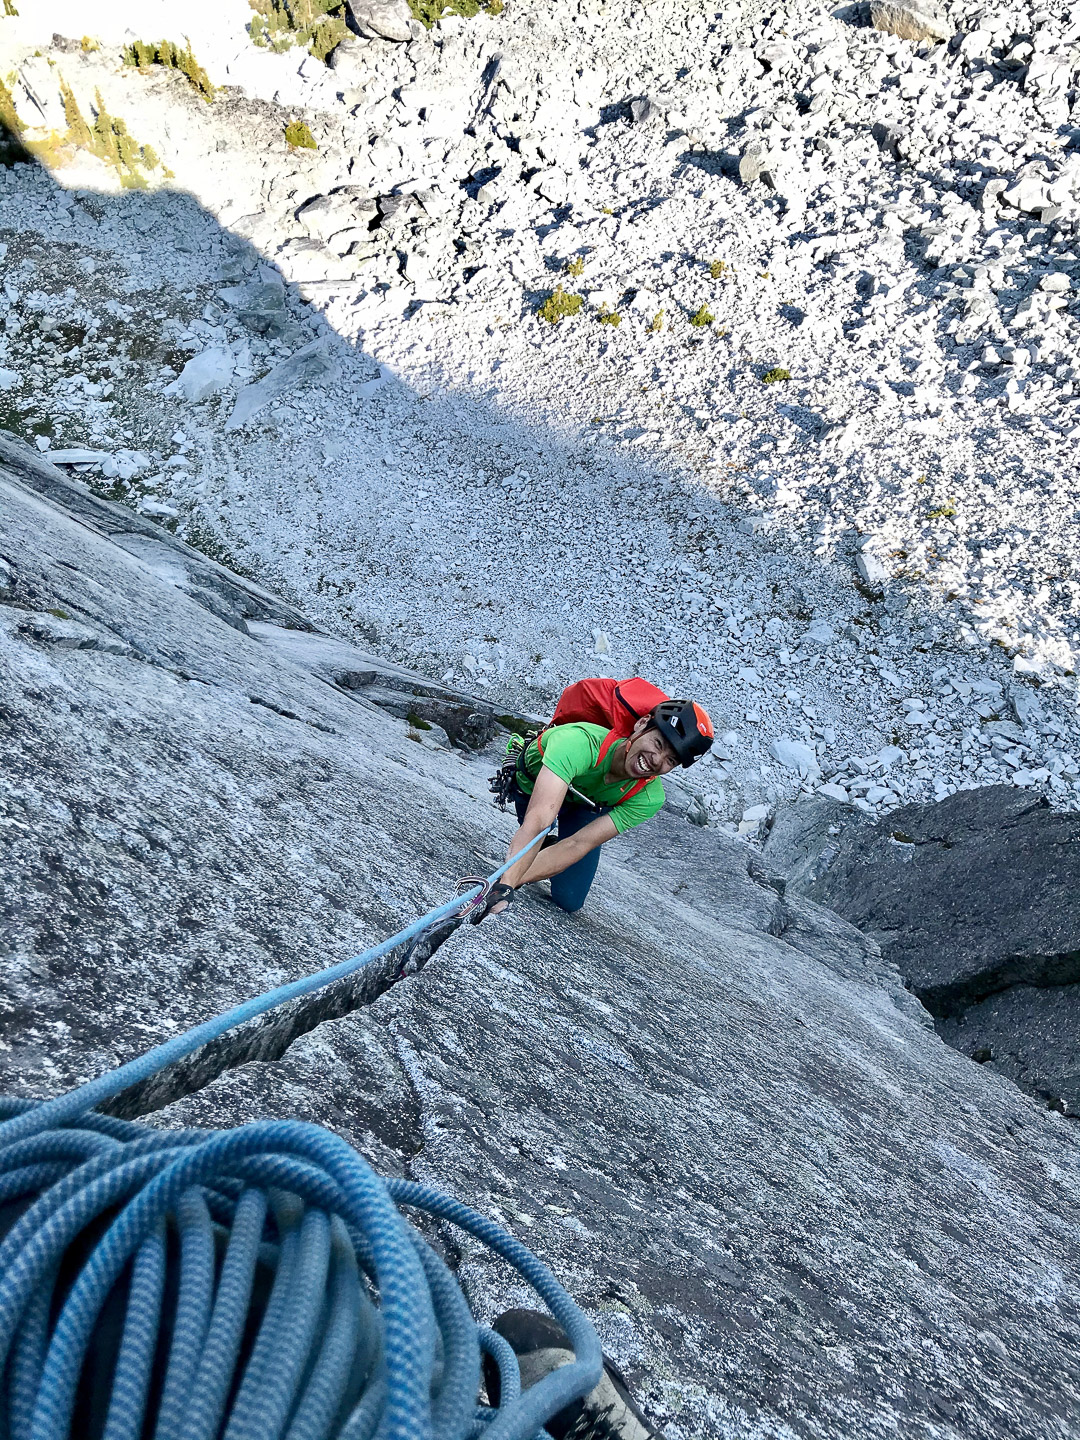
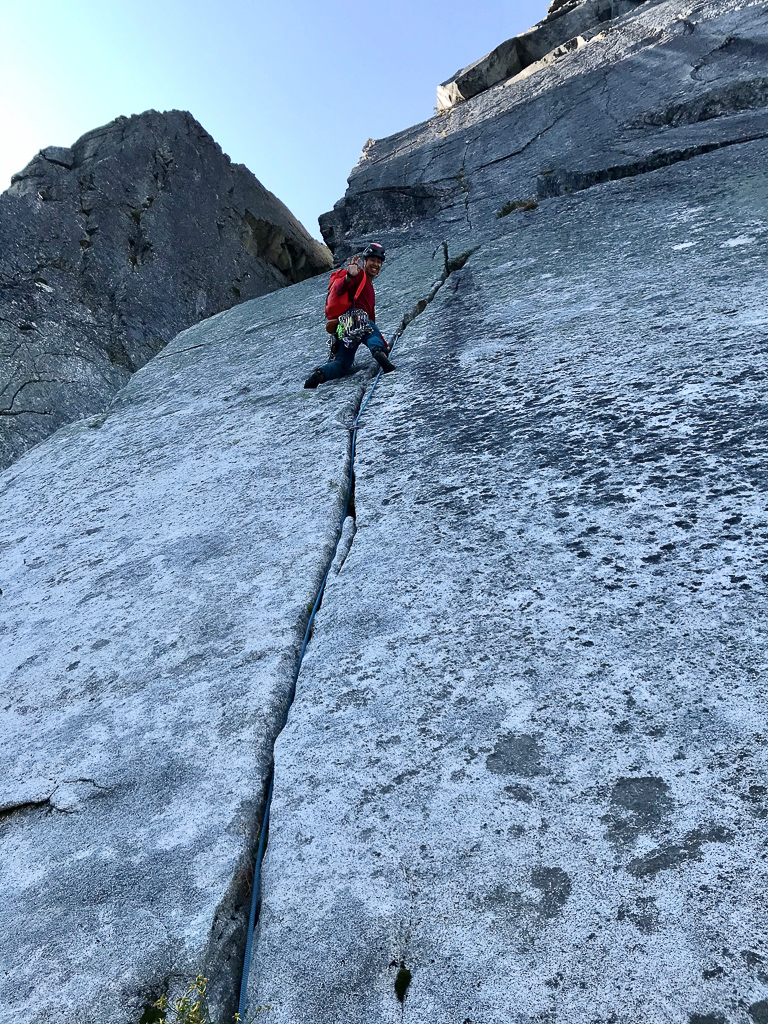
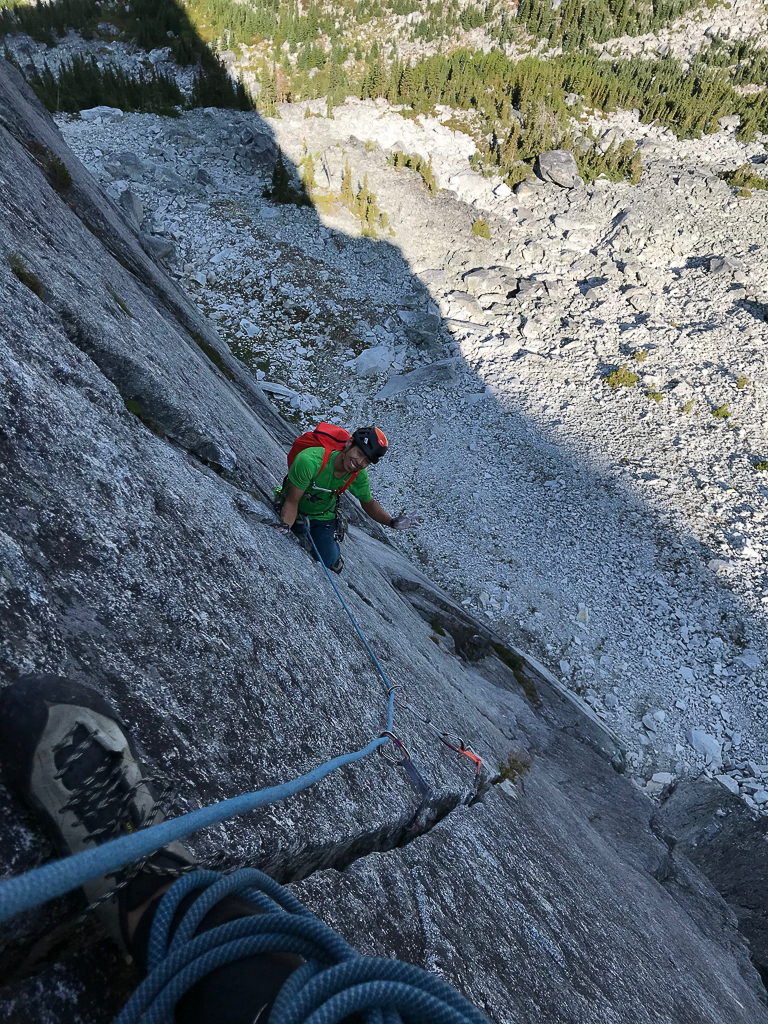
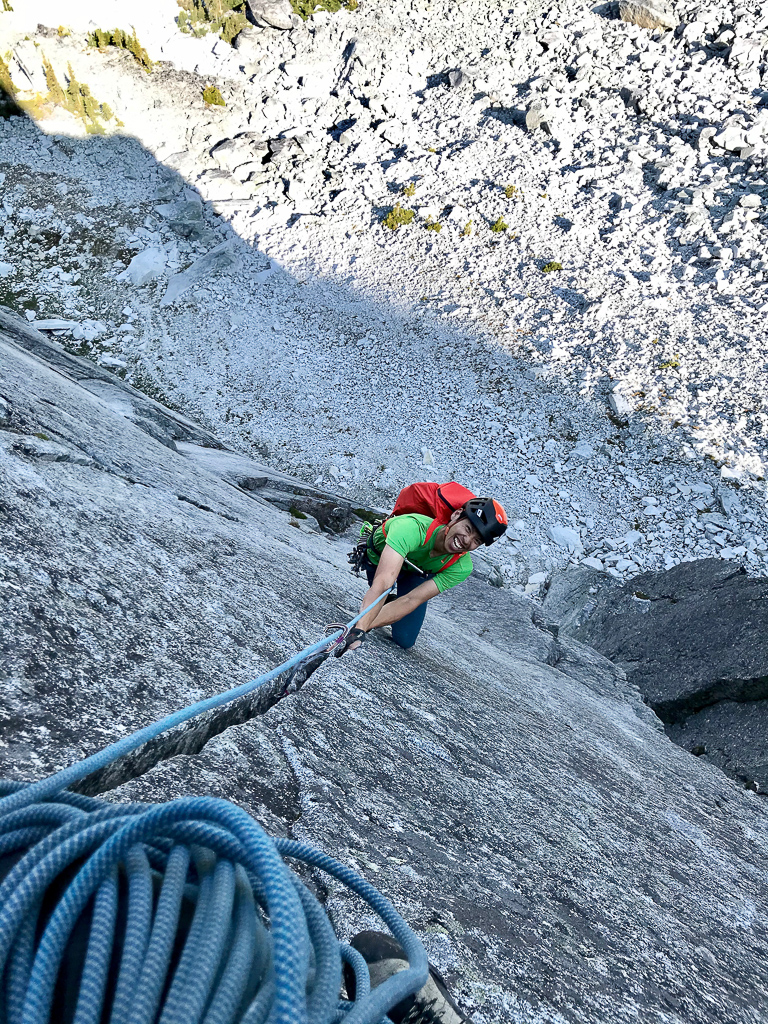
Looking down the awesomeness that is Pitch 3, the best pitch on the route. It probably makes more sense to swing leads on the lower three pitches to avoid prolonged belay times on the uncomfortable semi-hanging belays here, but I was happy to offer this pitch to Susie, the thin-crack jamming machine.
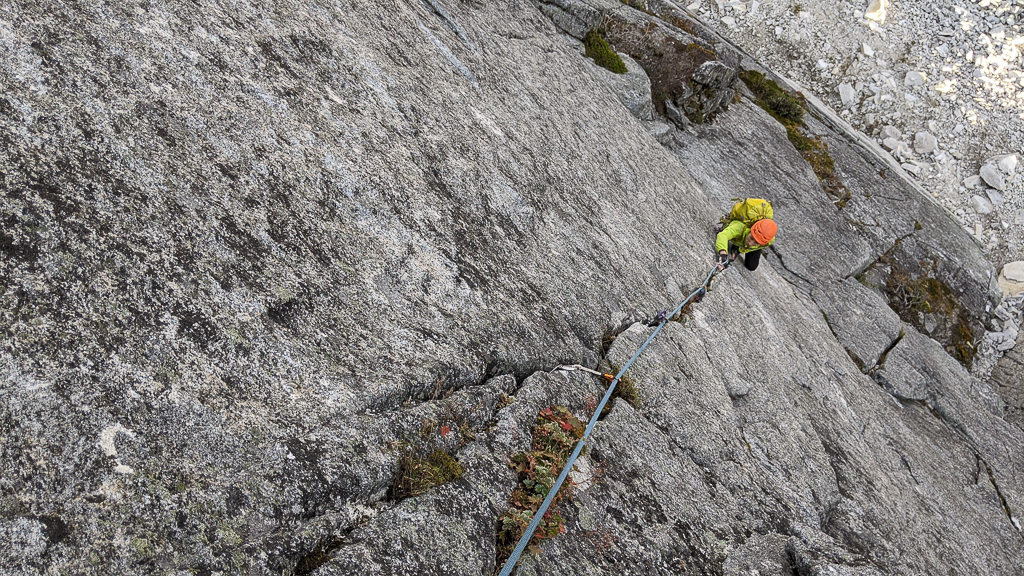
Susie linked Pitch 4 at the top “Finish up the crack (10b) and move right before it peters out to meet rough flakes at edge of roof at top of slab (5.9)” The climbing up here, while easier, was grungier, with some loose flakes. The climbing was insecure, pinching bottoming cracks. Susie climbed straight up to the ledge and then traversed right to the belay to avoid the looser flakes. On top-rope, I traversed right and cleaned up a flake or two. It might make sense to belay from here for rockfall management.
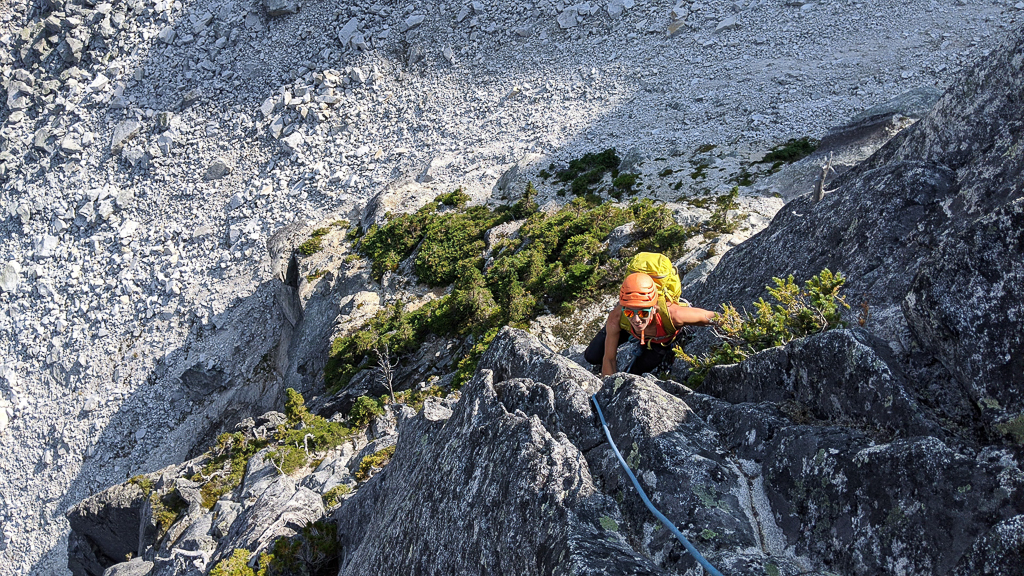
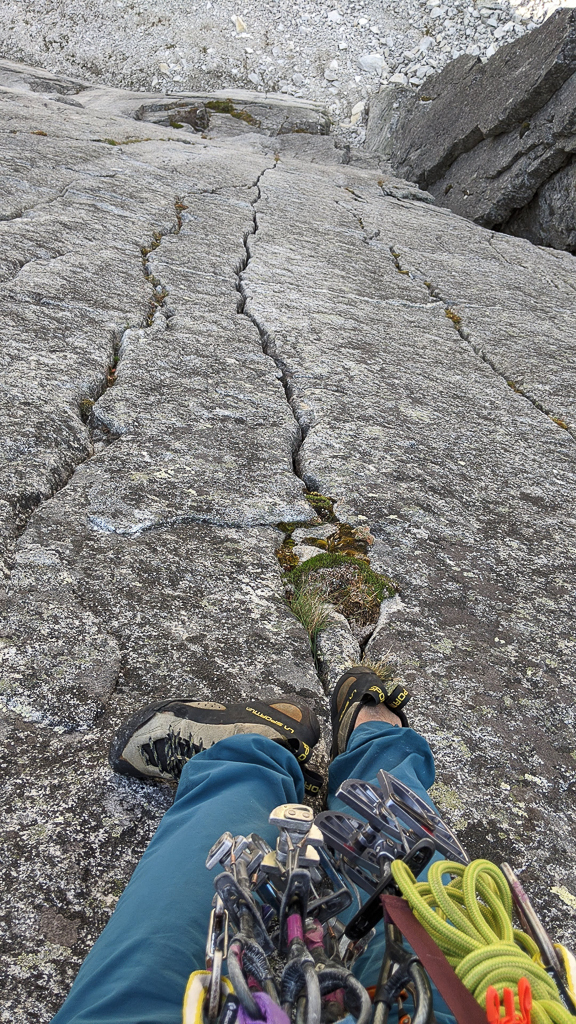
The rest of the route above the Endurance Slab is easier, with a choose your own adventure up the crest. I lead a long pitch up corners, flakes, and cracks past a dead snag, slightly left of the crest.
Pitch 5: Follow grooves, corners, and flakes to 5.9, straight up and slightly left. 50m
After the slab you’ll see a bunch of dead snags. Go left past the one directly above the slab, and into a corner system with the next dead snag. Amazingly fun and steep cracks and jugs. a 5.9 pitch (finally!)
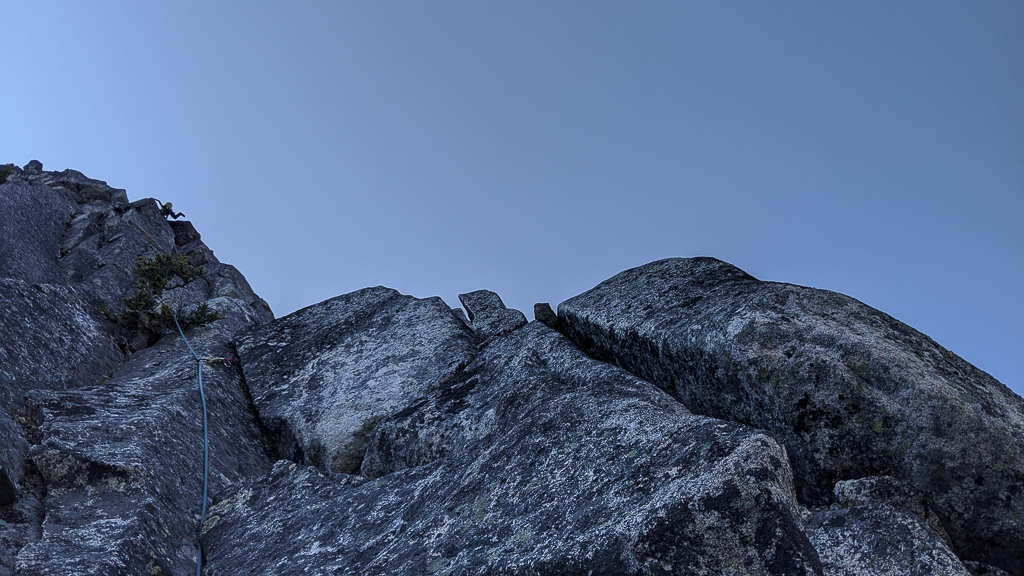
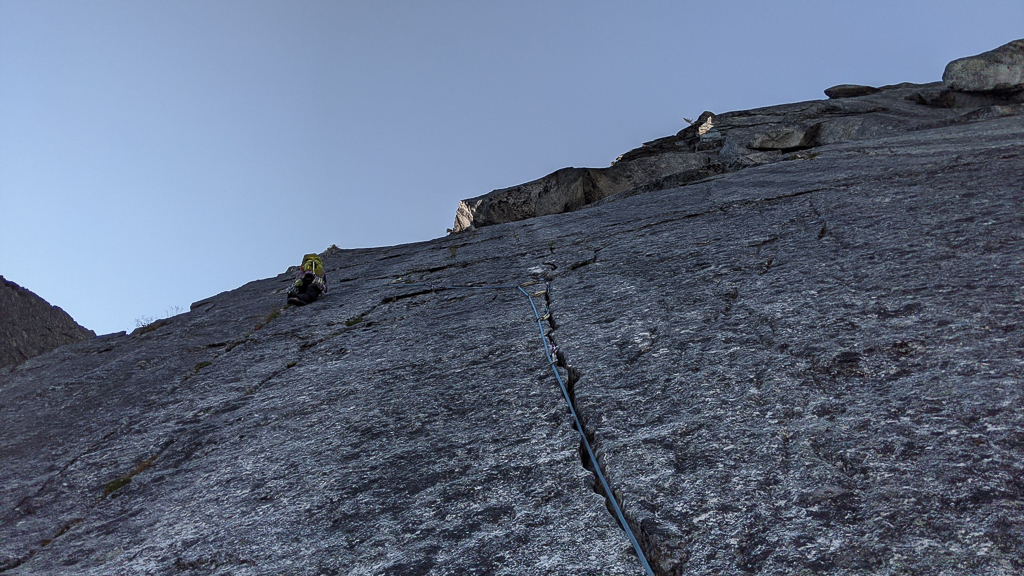
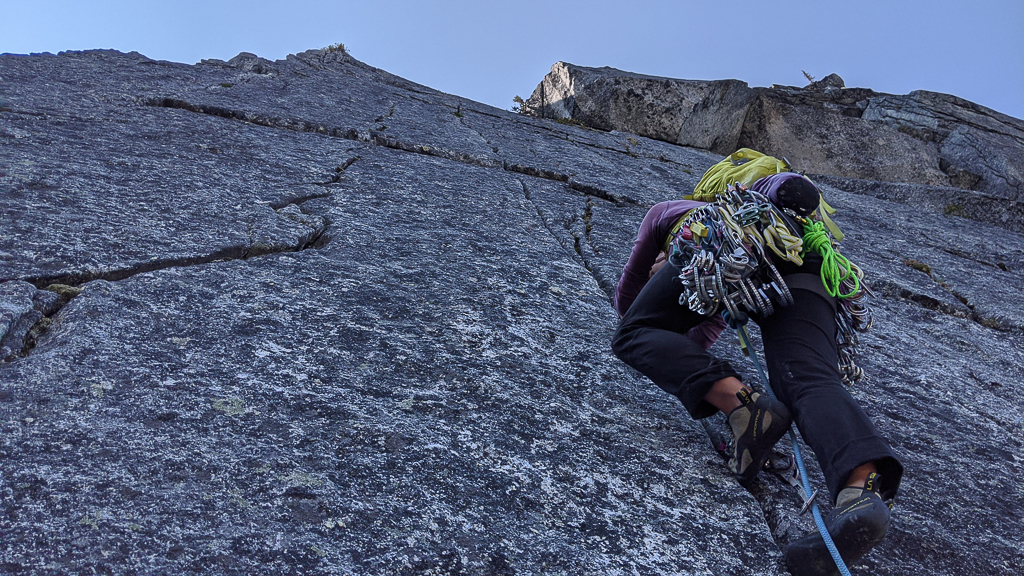
Susie leading up our fifth pitch. We weren’t sure if we followed the pitch description below, but it was easy to just climb straight. Another long and fun pitch, up a steep corner with good holds and gear.
p6: More 5.7 corners up to a 30 foot 10b crack right of the obvious off-width. 50m
6th pitch goes up and right into a hopefully obvious thin 10b corner that is super pumpy and technical. After that it’s a 5.8-4th class ridge for a while on great rock and fun exposure and cracks.
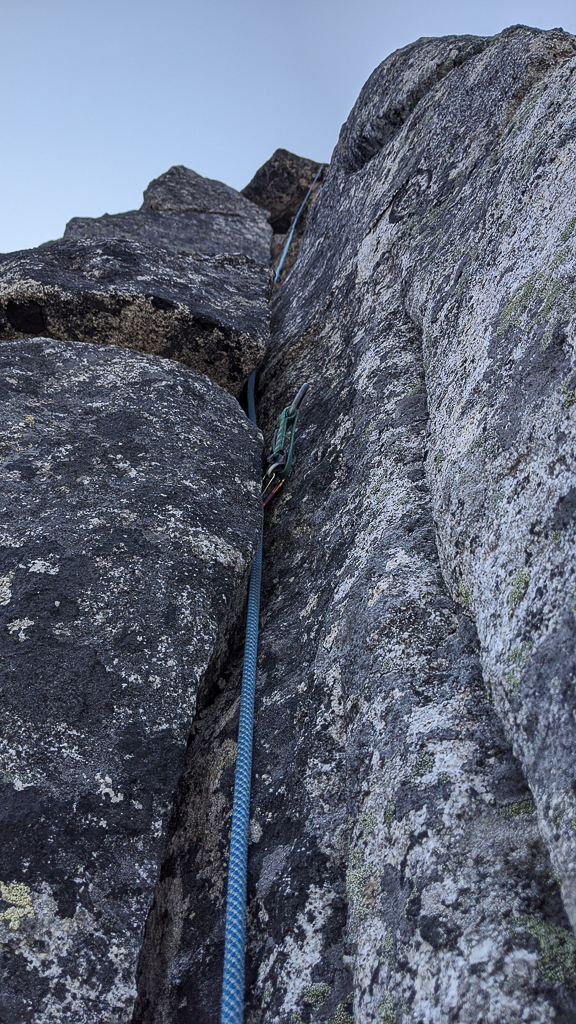

Our sixth pitch was the last full rope length pitch. I climbed up the crest, and then trended right towards some steeper flakes/cracks. I skipped the first crack which required a roof pull, traversing right instead. I think there’s a few options for this last pitch. Susie lead one more very short crack above the belay, which put us into the blocky fourth class terrain above. We scrambled the rest of the route to the summit in our approach shoes.

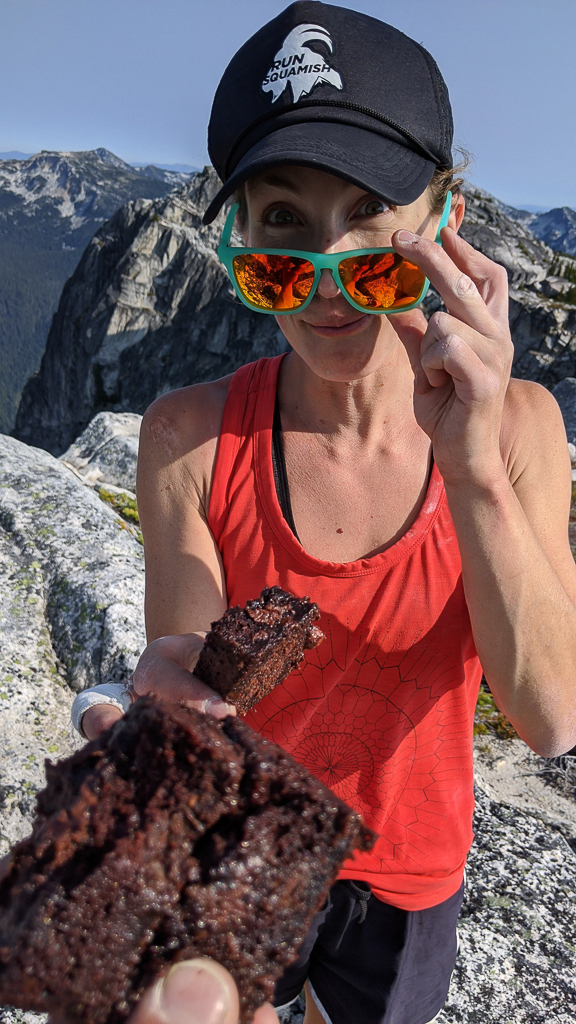
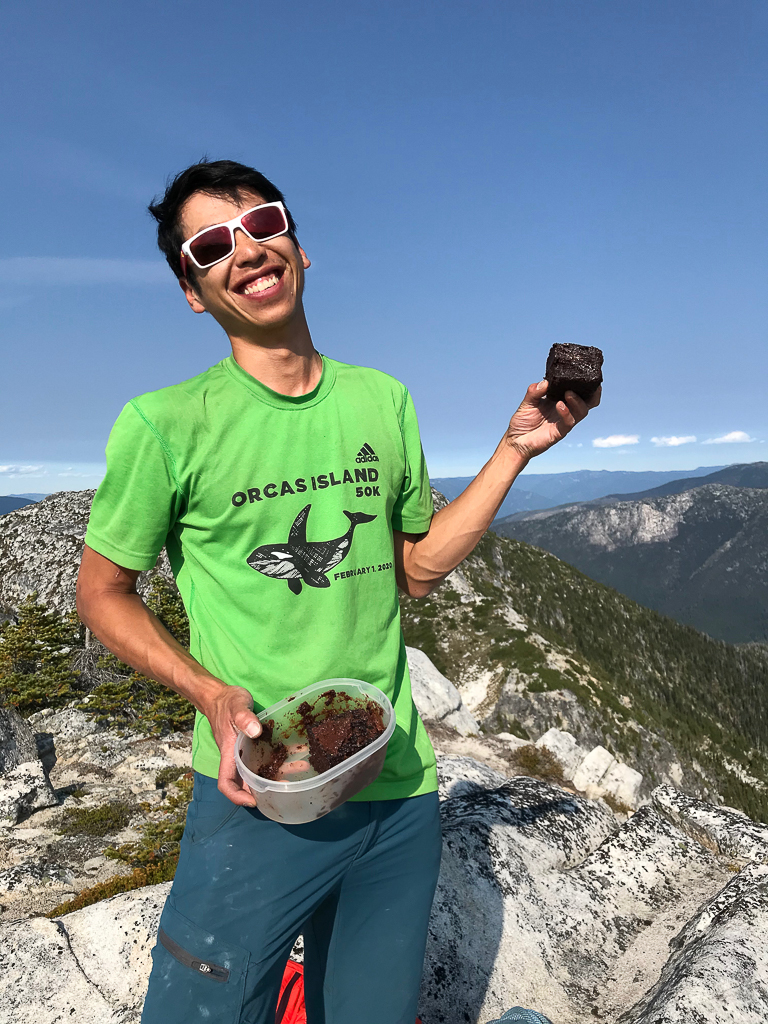
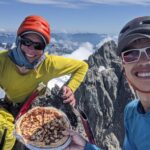
Unfortunately there was no summit pie on this climb, which was rather disappointing. I ended up with a ton of zucchinis from my garden this summer. After getting back from an August climbing road trip, I discovered that my landlords didn’t harvest my zucchinis as I offered. Instead, they grew into massive football sized zucchinis. Fortunately my friend Meghan had an amazing chocolate zucchini cake recipe. There’s absolutely nothing healthy about this cake, but it did offer a final sugar rush before our descent. I think I’ll stick to pies in the future, less messy compared to a melted frosted cake.
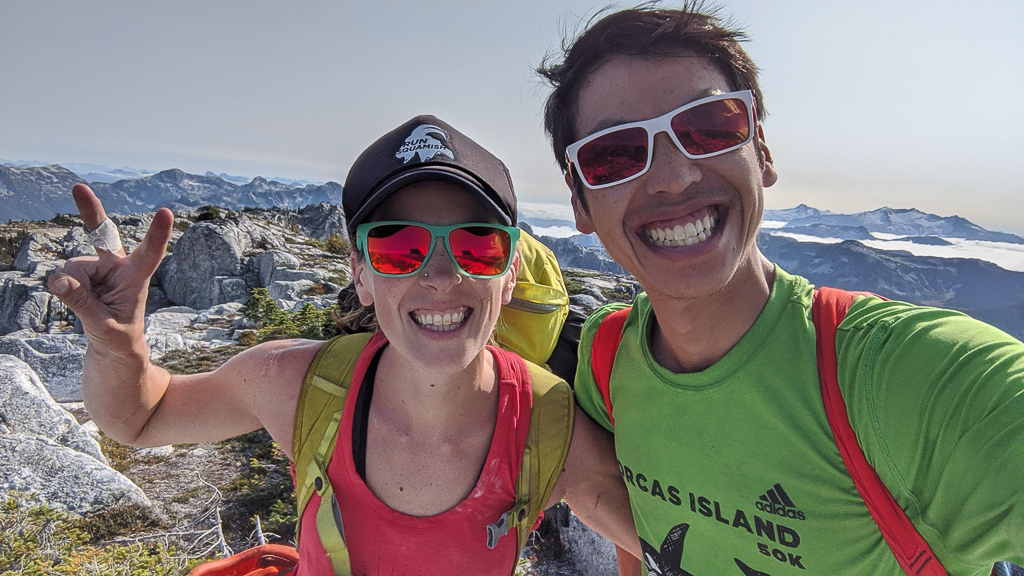
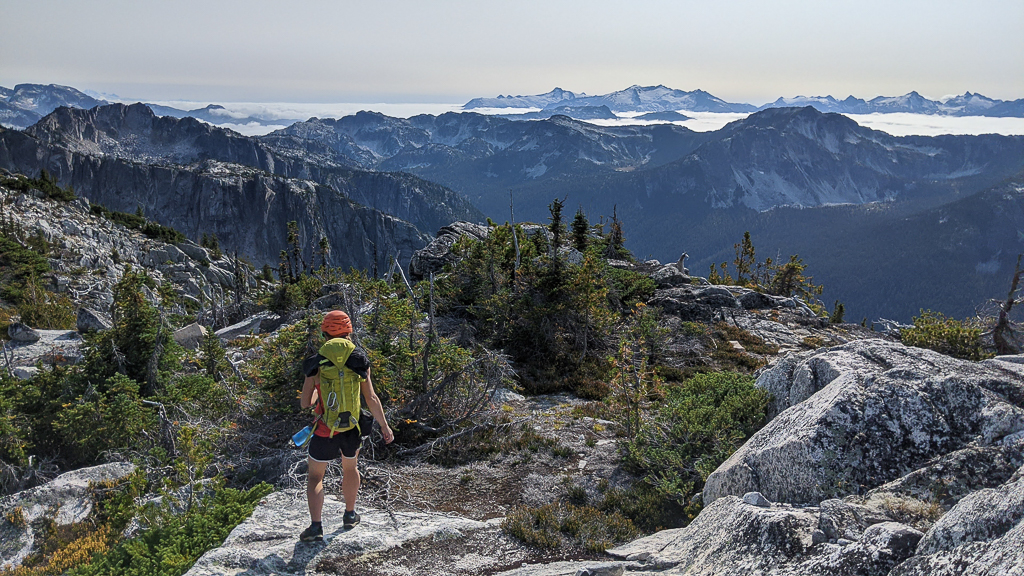
The highlight of the day was really just being on a little summit in the middle of nowhere, enjoying a slice of chocolate zucchini cake, watching the marine stratus flowing off Harrison Lake into the Nahatlatch. Thanks for being the designated ropegun Susie!!!
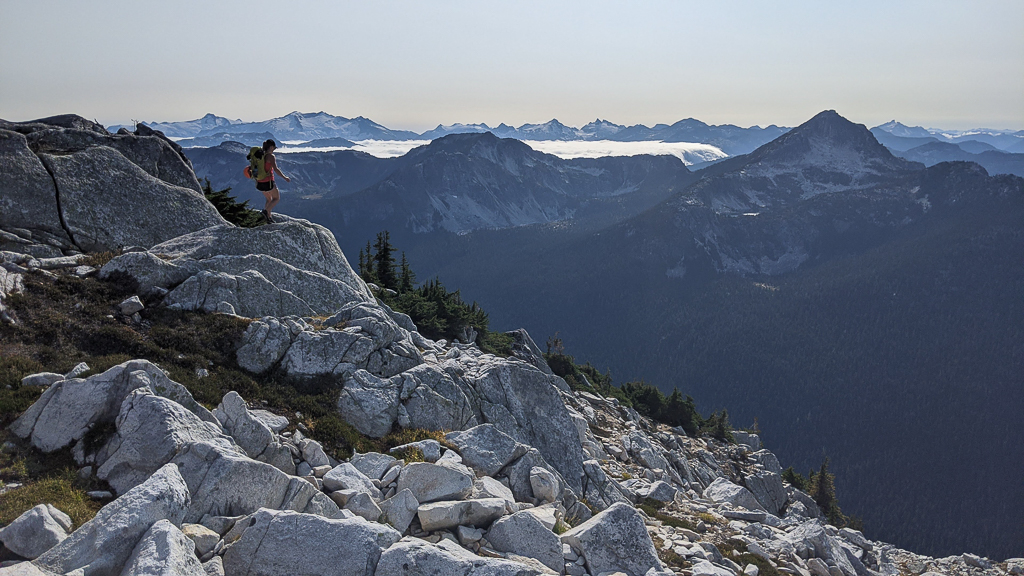
The descent is very straightforward. We descended steep heather slopes down the west side, before reaching this north facing gully. There are no technical bits, just a rappel-free descent from the summit.
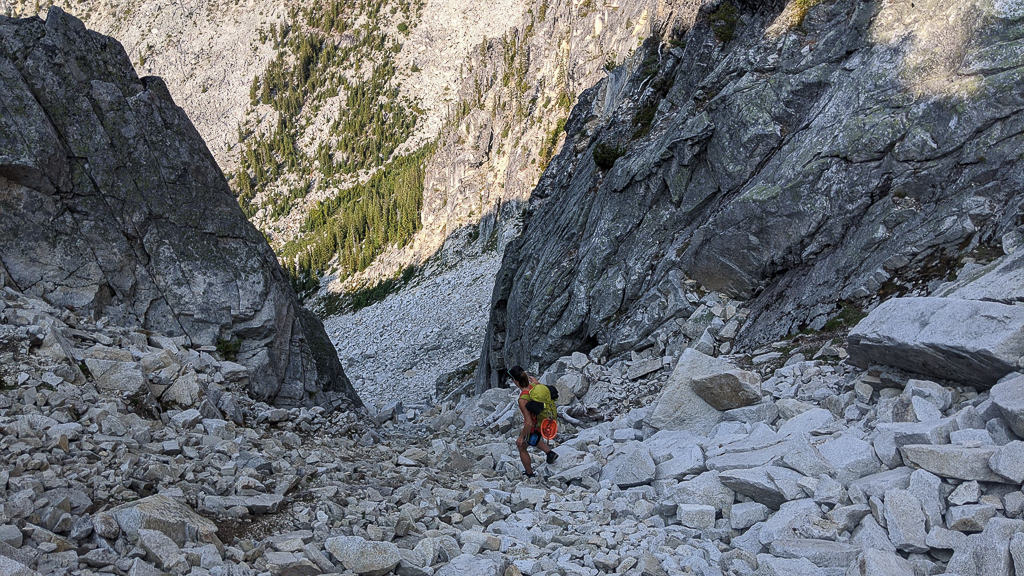
Go down and right hugging the edge (following a dirt gully down and west). Aim for a notch at the top of a gully that leads back to the base. Avoid the 1st gully (it blanks out into a cliff); go down to the 2nd gully in a grove of trees and you should easily see the ground. Walk out, no raps.
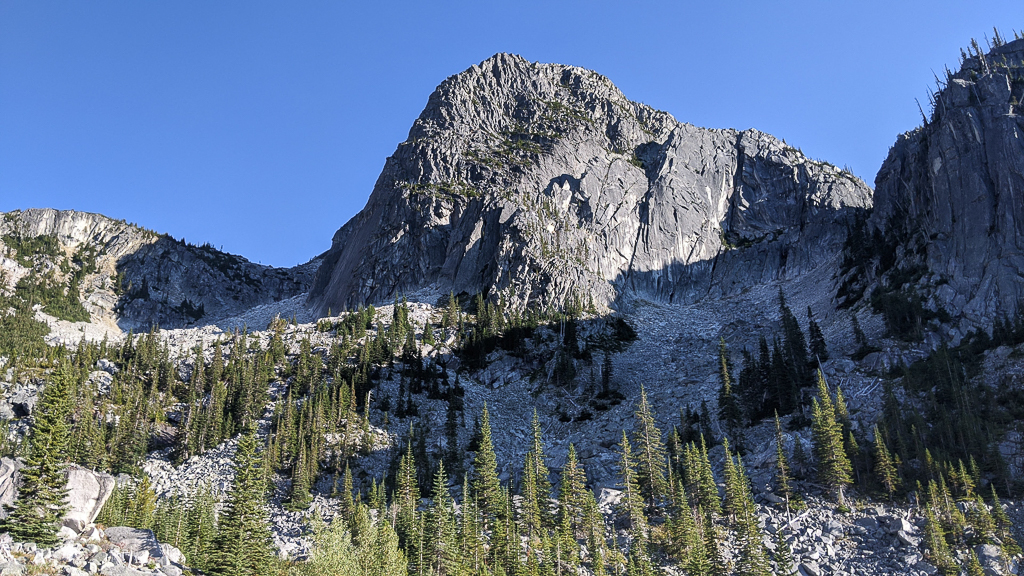
Looking back at our route. We climbed the left skyline, and descended the right skyline to the notch with the obvious gully. This route could use a bit more traffic to clear off some of the moss and lichen. I think our strategy of driving up here the night before worked. It was roughly three hours from North Vancouver each way, and our car to car time was eleven and a half hours, with a nice summit break. I’m guessing this route sees just one or two ascents each year, let me know if you’ve climbed it and how it was!